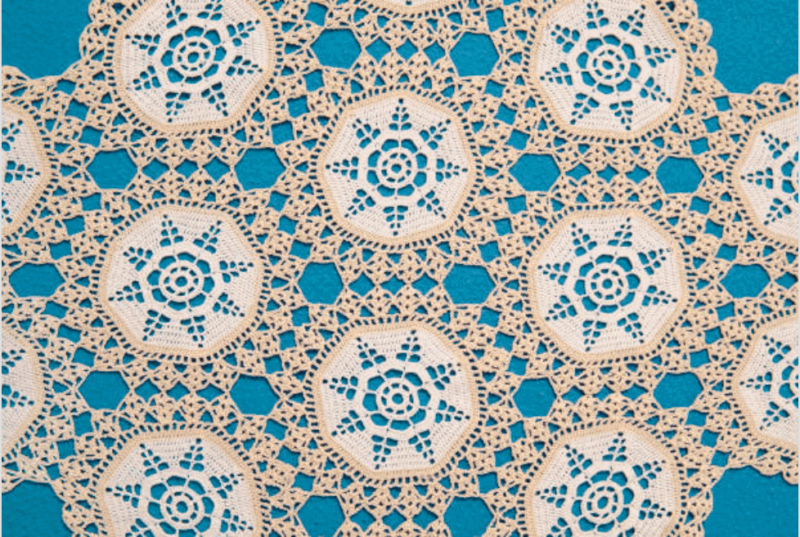
This is a simple design that uses only squares and triangles, so it’s easy to put together. Plus, the finished quilt looks impressive.
The key to this pattern is to use a variety of fabrics so that the quilt has a lot of visual interest. You can use all solids or a mix of solids and prints. Just make sure that the fabrics you choose contrast well with each other.
To make it, you’ll need:
– Fabric in a variety of colors and patterns
– Cutting mat
– Ruler
– Sewing machine
– Thread
– Scissors
– Iron
Here’s how it made:
1. Cut your fabric into squares and triangles. You’ll need 36 squares that measure 6 inches x 6 inches, and 72 triangles that measure 3 inches x 6 inches.
2. Sew the squares and triangles together in pairs, using a quarter-inch seam allowance. Then sew the pairs together to form six-inch blocks. You should have 12 blocks when you’re finished.
3. Arrange the blocks on your cutting mat so that they are in three rows of four blocks each. Then use your rotary cutter to trim away the excess fabric from around the outside of the blocks.
4. Sew the blocks together into rows, using a quarter-inch seam allowance. Then sew the rows together to form the quilt top.
5. Quilt as desired and bind the edges to finish.
Baby Boutique Quilt Pattern
This is a beautiful baby boutique quilt pattern. It is perfect for a baby shower or as a gift for a new baby. The quilt is made with squares of different fabrics, and the finished quilt is adorned with ribbons and bows. This is a simple quilt to make, and it is sure to be loved by the lucky recipient.
Diagonal Strip Quilt Tutorial
This is for a diagonal strip quilt. This is a great beginner quilt project because it is easy to sew and doesn’t require any special skills or techniques. You can use any fabric you like for this quilt, but it looks best with stripes or other patterns that have a strong diagonal line. This quilt is also a good way to use up scraps of fabric.
Snuggly Bricks Quilt Tutorial
It’s a great way to learn how to make a quilt that is both unique and stylish. The tutorial includes clear instructions and plenty of photos to help you along the way. You’ll be able to make this quilt in no time!
Hexagon Quilt Tutorial
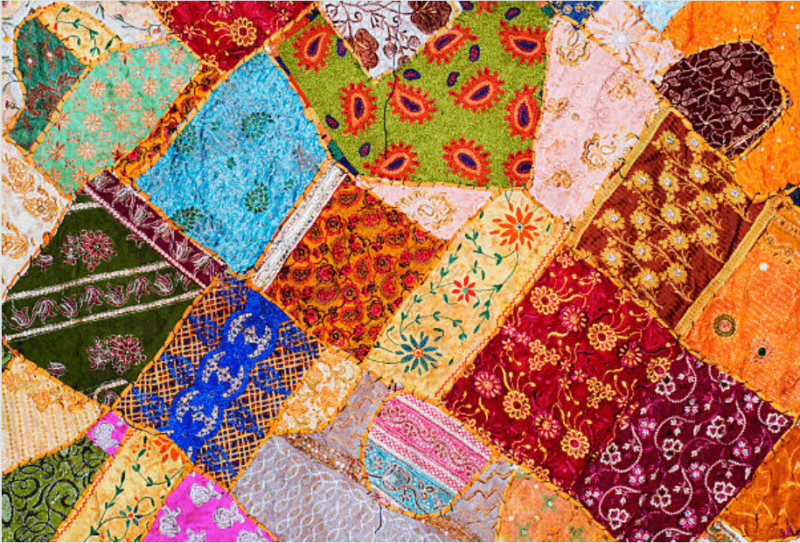
To make a hexagon quilt. You will need a hexagon template, fabric, and batting. First, trace the hexagon template onto the fabric. Cut out the hexagons. Sew the hexagons together, leaving a 1/4 inch seam allowance. Then, layer the batting and fabric together and quilt as desired.
Fresh Diamonds Quilt Tutorial
To make a beautiful quilt using fresh diamonds. You will need a variety of fabrics in different colors and prints, as well as a rotary cutter, ruler, and cutting mat. The first step is to cut your fabrics into diamonds of various sizes. Next, you will arrange the diamonds on your quilt top according to your desired design. Once you have the design you like, you will sew the diamonds together and add a border. This quilt is sure to be a treasured heirloom!
Garden District Picnic Quilt
The Garden District Picnic Quilt is beautiful and unique that is perfect for picnics or any outdoor activity. This quilt features a variety of different garden-themed fabrics in bright, cheerful colors. The quilt is machine-washable and dryer-safe, making it easy to care for. It is also reversible, so you can enjoy two different looks.
Fast Four Patch Quilt Tutorial
For making a fast four-patch quilt. You will need a quilt top that is at least 40 inches square, batting, and a backing. You will also need a sewing machine and thread. This tutorial walks you through each step of the process, from cutting the fabric to sewing the quilt together. The finished quilt will be about 36 inches square.
Sweet Snowball Quilt Pattern
For beginners! The blocks are easy to put together, and the finished quilt is so cute. I love the snowball design, and the fabric requirements are very reasonable. This would be a great project to use up some of your scraps.
Tuscan Cuddle Quilt Pattern
This Tuscan cuddle quilt pattern is a good way to add a touch of luxury to your bedroom. The rich, warm colors of the Tuscan landscape are brought to life in this beautiful quilt. The intricate quilting patterns add a touch of elegance, while the soft, cuddly fabric is sure to keep you cozy all night long.
Urban Baby Quilt Pattern
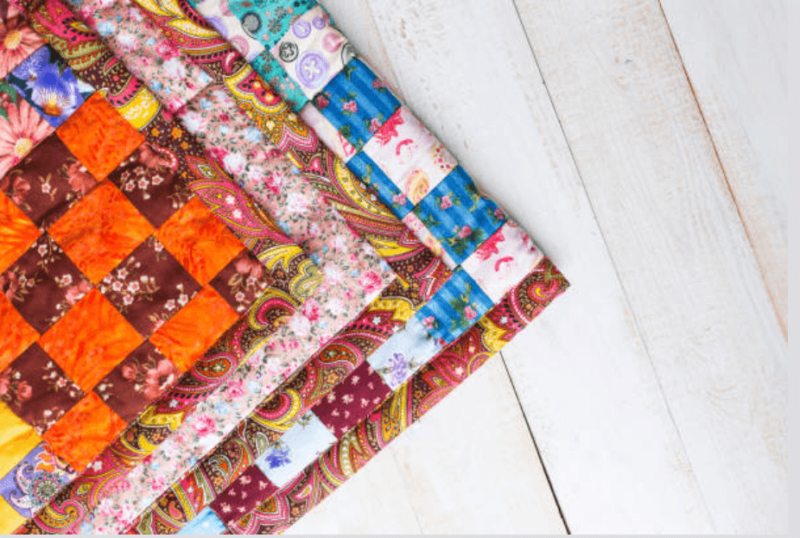
This quilt pattern is for any city-dwelling baby. It features a variety of urban scenes, including skyscrapers, taxis, and busy streets. The bright colors and simple shapes make this quilt easy to sew, and it’s sure to be a hit with any little one who loves the big city.
Layer Cake Lemonade Quilt Pattern
This Layer Cake Lemonade Quilt Pattern is the perfect way to show off your favorite 10″ squares. The quilt top is pieced together using a simple strip-piecing technique, and the finished quilt is approximately 60″ x 80″.
Cartwheel Quilt Tutorial
This is a quilt for beginners or anyone who wants to make a quick and easy quilt! This quilt is made with only two fabrics, so it’s perfect for using up those scraps you have been saving. The finished size of this quilt is about 40″ x 50″, but it can easily be made larger or smaller by adding or subtracting blocks.
What You Need:
1 1/2 yards of background fabric (I used white)
1/4 yard of accent fabric (I used black)
1/2 yard of binding fabric (I used black)
3/4 yard of backing fabric (I used white)
Batting (I used an 80″ x 60″ piece)
Rotary cutter and mat OR scissors and a ruler OR paper piecing template (download HERE) and scissors AND tape OR just print out the template below on cardstock and use that as your template.
Broken Dish Quilt Tutorial
In this tutorial, you will learn how to make a Broken Dish quilt top. This quilt top is made up of squares, rectangles, and is a great way to use up some of your scraps. You will need a total of 1 yard of fabric for this project.
Summertime Herringbone Quilt
This beautiful Summertime Herringbone Quilt is perfect for adding a touch of summertime style to your home. The quilt features a herringbone pattern in a variety of summer-themed colors, including blue, green, and yellow. It’s perfect for use as a bedspread, throw blanket, or wall hanging.
Modern Strip Quilt Pattern
The Modern Strip Quilt Pattern is a great way to show off your favorite fabrics. This quilt pattern is easy to follow and can be made in any size. The best part about this quilt pattern is that it can be easily customized to fit your style.
Refracted Quilt Tutorial
This will show you how to make a quilt that looks like it has been refracted. You will need to use a special ruler for this quilt, but it is well worth the effort. The finished quilt is stunning and will be a real conversation piece.
Peaches and Cream Quilt Pattern
This pattern is called Peaches and Cream. It is a very pretty and feminine design that would be perfect for a baby girl’s nursery or a little girl’s room. The quilt is made up of peach-colored fabric and cream-colored fabric. The peach fabric is used for the background and the cream fabric is used for the applique. The quilt is finished with a scalloped edge.
Precious Gem Quilt Pattern
Precious Gem is a great way to show off your favorite fabrics. It is a simple design that is easy to follow and makes a beautiful quilt.
Patchwork Chevron Quilt Tutorial
Here is how to make a patchwork quilt with a chevron design. You will need a variety of fabrics in different colors and patterns, as well as a rotary cutter, ruler, and cutting mat. First, you will need to cut your fabric into strips. Next, you will sew the strips together to create the chevron design. Once you have sewn all the strips together, you will need to quilt the top and bottom layers together. Finally, you will bind the quilt using a bias tape or binding strip.
Postage Stamp Mini Quilt
This mini quilt features a postage stamp design and is perfect for a small space or as a wall hanging. The quilt is made with 100% cotton fabric and batting, and the back is a solid white. It measures approximately 12″ x 12″.
String Quilt Block Tutorial
This is a great way to use up scraps of fabric, and it’s a simple block to make.
First, you’ll need to gather your fabrics. You can use any type of fabric for this project, but quilting cotton works well. Cut your fabrics into strips that are about 2 inches wide. You’ll need about 18 strips for each block.
Next, you’ll need to sew the strips together. Sew the strips together in pairs, then sew those pairs together. Once all of the strips are sewn together, you’ll have a long strip that is about 18 inches wide.
Now it’s time to cut the strip into squares. Cut the strip into squares that are about 6 inches wide. You should be able to get 9 squares out of each strip.
Finally, sew the squares together to form the quilt block. That’s it! You’ve now made one.
Colored Happy Quilt Pattern
This is a cheerful and colorful quilt pattern that will bring happiness to any home. It features a variety of colors and patterns that will please everyone. This quilt is sure to become a family favorite.
Pins and Paws Quilt Tutorial
This one is for a pins and paws quilt. This quilt is made up of two different blocks, the pinwheel block, and the paw print block. The pinwheel block is made up of four squares, and the paw print block is made up of two squares.
To make the pinwheel block, you will need four squares of fabric. Sew two squares together along one side. Then sew the other two squares together along one side. Sew the two halves together along the remaining side.
To make the paw print block, you will need two squares of fabric. Sew them together along one side. Then cut the square in half diagonally to create two triangles.
Sew the blocks together in rows, alternating between a pinwheel block and a paw print block. Then sew the rows together to complete the quilt top
Petunia Strings Quilt Tutorial
This is for a Petunia Strings Quilt. The finished quilt will measure approximately 60″ x 72″. You will need 1 1/2 yards of background fabric, 3/4 yard of binding fabric, and 1/4 yard of accent fabric. For the blocks, you will need two 6 1/2″ squares of background fabric and two 6 1/2″ squares of accent fabric.
To begin, cut your background and accent fabrics into 6 1/2″ squares. You will need a total of 32 squares of each. Next, sew the squares together in pairs, with the right sides facing each other. Then, sew the pairs together to form the blocks. There should be 16 blocks total.
Now it’s time to assemble the quilt top. Lay out the blocks in four rows of four blocks each. Sew the blocks together in each row, and then sew the rows together to form the quilt top.
Finally, add the binding to finish off the quilt. For more detailed instructions on how to do this, please see our Binding Tutorial.
Baby Basket Quilt Pattern
This quilt is perfect for a baby shower or as a gift for a new mom. It features a basket weave design and can be easily adapted to any color scheme. Add some appliquéd flowers or other embellishments to personalize it even more.
Quick Herringbone Quilt Tutorial
For a quick and easy herringbone quilt that can be made on a weekend. This quilt is perfect for beginners or anyone who wants a fast project.
You will need:
-1 yard of fabric for the front
-1/2 yard of fabric for the back
– batting
– 1/4 yard of binding fabric
– sewing machine and thread
– rotary cutter and mat
First, cut your front and back fabrics into strips that are 2.5 inches wide. Then, cut those strips into pieces that are 12.5 inches long. You should have 24 strips total (12 for the front and 12 for the back).
Next, lay out your strips in a herringbone pattern, alternating between the front and back fabrics. Make sure that the seams nestle together so that you can sew them together without any gaps.
Once you have your herringbone layout complete, it’s time to start sewing! Sew each strip together using a 1/4 inch seam allowance. When you get to the end of each row, leave a tail of thread so that you can easily connect the rows.
After all of your rows are sewn together, it’s time to add the batting and backing. Cut a piece of batting and backing fabric that is slightly larger than your quilt top. Then, using a walking foot on your sewing machine, sew around all four sides of the quilt sandwich (quilt top, batting, backing) with a 1/2 inch seam allowance.
Finally, bind your quilt using your binding fabric and a 1/4 inch seam allowance. Hand-sew the binding to the back of the quilt for a professional finish.
Rail Fence Quilt Pattern
A rail fence quilt pattern is a popular choice for beginners. It is easy to sew and can be made with just a few fabrics. The finished simple patchwork quilt will have a stripe of fabric running along the top and bottom of the quilt, with a pieced design in between.
Nine Patch Bento Box Quilt
These quilt patterns are perfect for beginners! The Nine Patch Bento Box Quilt features nine large blocks, each made with two different fabrics. You can use a variety of fabrics in this quilt, so it’s a great way to use up scraps or fat quarters. The finished quilt is approximately 54″ x 72″.
Dancing Nine Patch Quilt
They are traditionally made with a light and a dark fabric, but can also be made with all one fabric or a variety of fabrics. The key to making a great Nine Patch quilt is to use high-quality fabrics and to cut the patches accurately.
Start by cutting nine 5-inch squares from each of two different fabrics. Then, sew the squares together in three rows of three, alternating the light and dark fabrics in each row. Once the three rows are sewn together, sew the rows together to complete the quilt top.
For a more scrappy look, try using a variety of different fabrics instead of just two. You can also add interest by using different sizes of squares or by adding other patchwork blocks into the mix. No matter what you do, Nine Patch quilts are always classic and beautiful!
Free quilt patterns for beginners
Easy Hunter’s Star Quilt
Double Four Patch Scrap Quilt
Bricks & Cobblestones Quilt
Simplified Puff Quilt
Quick and Easy Rag Quilt
Easy Rail Fence Baby Quilt
Floral Snowballs Quilt
Easy Jigsaw Puzzle Quilt
Strip and Flip Baby Quilt
Starry Skies Free Quilt Pattern

