
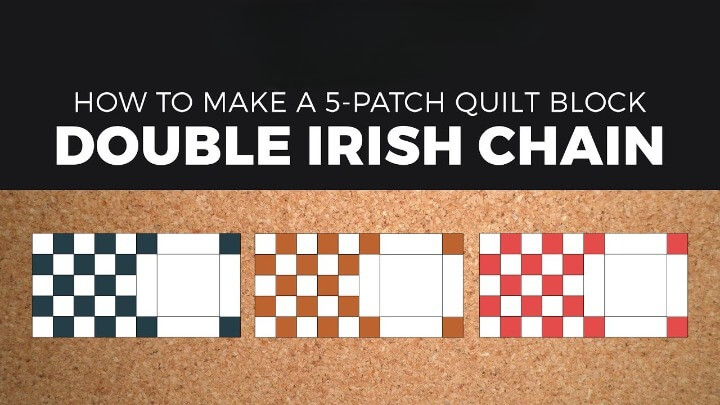
If you are a beginner quilter, the Double Irish Chain quilt pattern is a great place to start. This pattern is made up of two basic blocks, the Four-Patch and the Nine-Patch, which are easy to construct. The finished quilt has a classic look that is perfect for any décor.
To make a Double Irish Chain quilt, you will need:
• 2 yards of background fabric
• 6 fat quarters in coordinating colors
• Rotary cutter, mat, and ruler
• Sewing machine and thread
• Iron and ironing board
• Scissors
• Safety pin
• Tape measure
• Quilt batting
• Quilt backing
• Quilt top
1. Begin by cutting your background fabric and fat quarters into strips. For the background fabric, cut two strips that are 2-1/2” wide by the width of the fabric. Then cut each of the fat quarters into two strips that are 2-1/2” wide by 18” long.
2. Next, you will need to make the Four-Patch blocks. To do this, take two strips of fabric and sew them together along one long edge. Press the seam open. Then, take the two resulting pieces and sew them together along one short edge to create a 4-1/2” square. Repeat this process until you have a total of 12 Four-Patch blocks.
3. Now it’s time to make the Nine-Patch blocks. To do this, take three strips of fabric and sew them together along one long edge. Press the seam open. Then, take the three resulting pieces and sew them together along one short edge to create a 9-1/2” square. Repeat this process until you have a total of 12 Nine-Patch blocks.
4. Once you have all of your blocks made, it’s time to start piecing the quilt top together. To do this, you will need to sew a Four-Patch block to a Nine-Patch block along one edge. Then, sew a second Four-Patch block to the other side of the Nine-Patch block. Repeat this process until all of the blocks are used.
5. Once the quilt top is pieced, it’s time to add the batting and backing. To do this, lay the quilt top down on a flat surface and smooth it out. Then, lay the batting on top of the quilt top and smooth it out. Finally, lay the quilt backing on top of the batting and smooth it out.
6. Now it’s time to quilt the quilt. To do this, you will need to use a walking foot on your sewing machine. Start by sewing a straight line down the center of the quilt. Then, sew a second line 1/4” to the left of the first line. Repeat this process on the right side of the quilt.
7. Once the quilt is quilted, it’s time to bind it. To do this, cut 2-1/2” strips of fabric and sew them together along the long edges to create one long strip. Then, fold the strip in half lengthwise and press the seam open.
8. Next, you will need to attach the binding to the quilt. To do this, start in the middle of one side of the quilt and align the raw edges of the binding with the raw edges of the quilt. Then, sew the binding to the quilt using a 1/4” seam allowance.
9. Once the binding is attached, you will need to hand stitch it to the back of the quilt. To do this, start at one end of the quilt and fold the binding over to the back. Then, using a needle and thread, hand stitch the binding in place.
10. Finally, you will need to add a label to the quilt. To do this, simply sew a label to the back of the quilt.
Congratulations! You have now completed your Double Irish Chain quilt!