

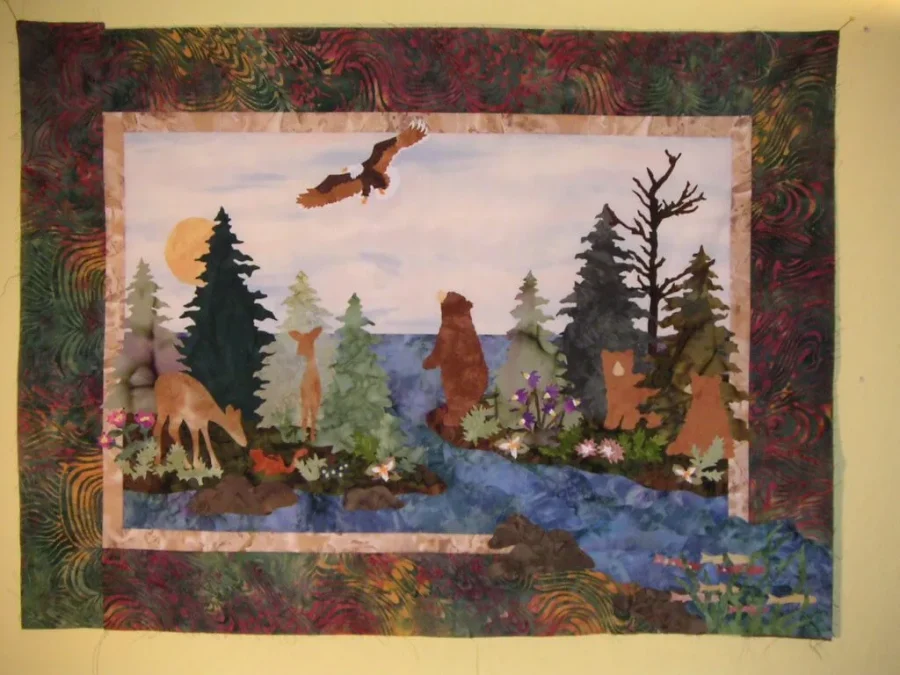
When it comes to quilting, the options for finishing your quilt are endless. One popular option is to frame your quilt. This can be done in a number of ways, depending on the look you are going for. Here are a few tips on how to frame a quilt.
The first step is to decide on the type of frame you want. There are many different styles of frames, from traditional to modern. You can even make your own frame using quilt batting and a bit of fabric glue.
Once you have decided on the style of frame, it is time to measure your quilt. You will need to know the dimensions of the quilt top, plus the width of the border. This will help you determine the size of the frame you need.
Next, you will need to select the matting. Matting is the fabric that goes between the quilt and the frame. It can be made from a variety of materials, including cotton, wool, or polyester. You will want to choose a matting that compliments the quilt top and the frame.
After the matting is selected, it is time to cut the fabric. The matting should be cut slightly smaller than the quilt top. This will allow for a 1/4-inch border around the quilt. The frame fabric should be cut 1-inch larger than the quilt top.
Once the fabric is cut, it is time to assemble the frame. Start by attaching the matting to the quilt top using quilt batting and a bit of fabric glue. Then, attach the frame fabric to the matting. Be sure to use a strong adhesive, such as hot glue, to ensure the frame is securely attached.
Finally, hang your quilt in the frame and enjoy!
What is a Quilt Frame?
A quilt frame is a device used to hold a quilt in place while it is being worked on. It typically consists of a rectangular frame with four posts at the corners, onto which the quilt is stretched and secured. Quilt frames are used by both professional and amateur quilters.
A quilt frame is a piece of furniture that helps you assemble a quilt. It is typically made from wood, plastic, or other materials and it can be attached to the wall with screws or nails.
How to disassemble your quilt frame
Take off the cover of the frame. The cover can be held on by one of two methods:
1- For wood frames, there are usually two metal tabs on either side that you can push in with your thumbs and slide the cover off.
2- For plastic frames, there is usually a metal tab or piece that you can pull up. This will release the cover enough to slide it off. Remove the mat from the back of the frame (if there is one). Most frames have two small pieces of metal that hold the mat in place. If your frame has these, you should be able to just slide them out (you might need a small screwdriver to assist.
If there are no metal tabs, then most likely your mat is glued down and you will need to carefully pry it up with an exacto knife. Be careful not to cut into your frame!
How to Use a Quilt Frame
If you want your quilt to look professional and have it displayed prominently in your home, you may want to consider using one of those high-quality wooden or plastic frames that come standard on most Quilts frames today. To use your frame, simply remove all of the fabric from around it (except for where needed for decoration) and place it inside the frame; then attach the fabric spring form easily around the frame using machine sewing techniques.
You can frame a quilt with or without borders. If you do not frame the whole quilt then make sure the fabric is stretched around a matboard backing and stapled to the back of the frame. Use acid-free mat board only.
In a pinch, you could use a matted shadowbox with acid-free matboard to display your quilt but it would not be ideal, as shadow boxes are designed for three-dimensional objects and not for flat objects like quilts.
Place the batting over the mat and center the design in the center of the batting
Turn the entire project over so that the mat is on top
Baste through all layers just outside of your design to keep everything in place while you machine quilt it. Notice that I have basted a square around my fabric to help keep it from shifting on me as well.
Start sewing around your design. I always start at one end and work my way around in a circle until I get back to where I started. This helps me stay on track and not run off my design. If you haven’t sewn a lot of circles, practice on a scrap piece before sewing near your design…you want to avoid mistakes! If you do happen to make a mistake, don’t worry about it too much…you can always fix it after you are done.
There are ways to display your quilts that do not require framing but if you want to hang them on the wall framed is probably best.
Frame Your Quilt the Way You Want It
Once you’ve decided on some basic colors and arrangements, it’s time to frame and finish off your quilt with final touches like batting, borders, and/or binding. Choose a way to frame your quilt that matches both its style and budget-friendly price points.
Conclusion
Quilting is a fantastic way to create beautiful quilts. There are many different ways to quilt a quilt, and it’s important to find the right method for you. Use a quilt frame as a starting point and add more colors and styles to your quilt. If you have any trouble following along with this guide, don’t be discouraged; there are numerous helpful resources available on the internet that can help. By following these tips, you can make a beautiful quilt that will last for years.
This is really interesting, You’re a very skilled blogger.
I have joined your feed and sit up for in the hunt
for more of your magnificent post. Additionally, I’ve shared your website in my social networks
Highly descriptive article, I liked that bit.
Will there be a part 2?
Tools and materials used in quiltingIt’s a shame you don’t have a donate button! I’d without a doubt donate to
this outstanding blog! I suppose for now i’ll settle for book-marking and adding your RSS feed to my Google account.
I look forward to fresh updates and will talk about this site with
my Facebook group. Talk soon!